I can only apologise about how poor the image quality is of the photos in this post. My camera has gone walkies which means I have to wait till christmas to get a new one. I'm using my Dads' camera for the time being which is great at taking far away photots in daylight, but didn't do so well with close up photos in natural light. I'm sorry I'm rambling, I'll begin :)
What you will need
Any two nails polishes on the face of the earth will do for this, whatever colours you think will go well together, or whatever you have in your collection. I have chosen two W7 nail polishes as they are a really cheap brand, but there is so much colour choice which is why I love the brand. Also if you pop down to your local cheap shop ( B&M, Quality Save ect.) then you can get a polish for around £1.50. The main ingridient of this little tutorial is hole-punch reinforcers.
Since I discovered this tip a while ago I've seen it everywhere as it's a pretty well known tip. However if you're like me then this tip will come of some use to you as it makes creating half moon manicures and french tips super easy.
The first thing I did was paint my nails with a shimmery silver polish ( unfortunatley the W7 polishes don't have names which makes them difficult to talk identify).
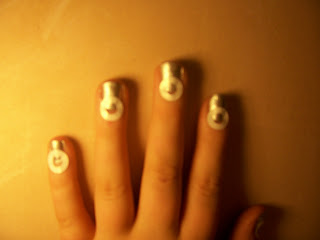
The I just stuck on the hole punch reinforces, put them on as high or low as you like depending on how big you want the moon to be. Also remember the first coat is going to be the colour of the moon.
 |
| Sadly I'm no hand model |
Then I painted over the top half with a purple W7 nail polish, I forgot to picture this step but hopefully it's pretty self explanatory. The big mistake I made when I first started doing this was that I would leave the reinforcers on until the nail varnish was totally dry. You should pretty much take of the reinforcers as soon as you've painted the top coat.
And these are the finished nails!
I felt like I need to use both pictures as I couldn't get just one picture that showed off the manicure properly. Now looking at the result I do kindof wish that that I'd put the reinforcers lower down but hey-hoe! Also it was really difficult to get a picture that did justice to the purple colour in the manicure. Even the one above doesn't show it's true prettiness. Either way (luckily) it's not the nail polishes under review, it's the tip that's important.
I hope that this tip was helpful and that you'll try it out and prehaps get some better picture of it that I have. Oh and I forgot to mention that the reinforers cost like a pound and can be found in pretty much all stationary shop and alot of pound shops :)
This is all,
Gemmmm xxx


No comments:
Post a Comment
Thankyou for your comment! I read and reply to every single one!